In normal life, serious injuries and medical emergencies have a simple protocol: call 999, keep the patient stable, wait for the ambulance. But in a prolonged power outage or infrastructure failure, that ambulance might not come — or might take hours instead of minutes.
This isn't about turning you into a paramedic. It's about giving you enough knowledge to handle the most common injuries and emergencies until professional help becomes available again. The difference between knowing what to do and standing there panicking can genuinely be the difference between life and death.
The golden rule: do no harm
Before anything else, understand this principle. In an emergency without professional backup, your job is to stabilise, not to treat. You're buying time, not performing surgery. If you're unsure whether an action will help, it's almost always better to do nothing than to do the wrong thing.
The exceptions — where doing something is always better than doing nothing — are:
- Someone isn't breathing → CPR
- Someone is bleeding severely → apply pressure
- Someone is choking → back blows and abdominal thrusts
Everything else, take a breath and think before you act.
Severe bleeding
Uncontrolled bleeding is the most time-critical first aid scenario you're likely to face. Someone can bleed to death from a severed artery in 3–5 minutes.
What to do
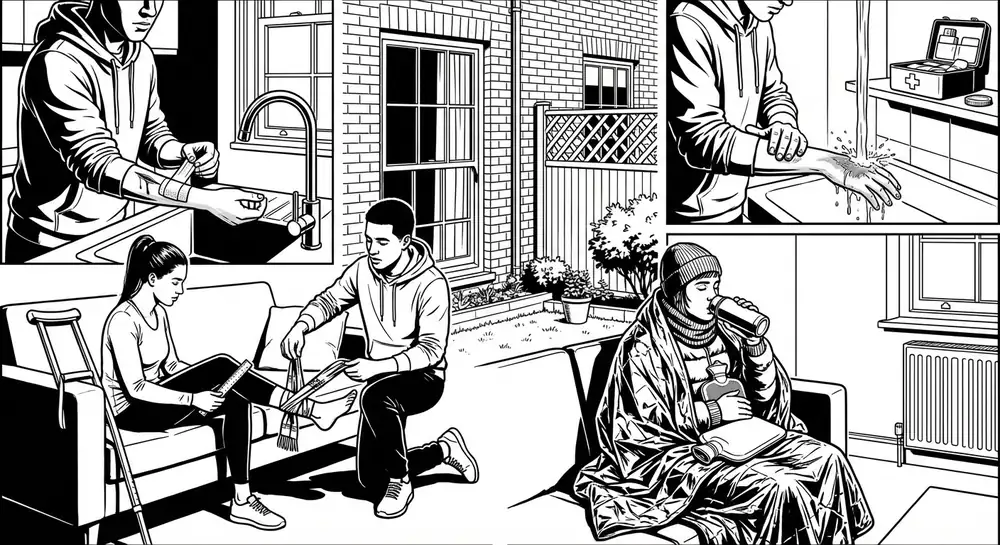
- Apply direct pressure. Press firmly on the wound with whatever clean fabric you have — a towel, a t-shirt, a folded tea towel. Press hard. Harder than you think. Don't lift the fabric to check — that disrupts clot formation.
- Keep pressing. Maintain firm, constant pressure for at least 10–15 minutes without letting go.
- If blood soaks through, don't remove the first layer. Add more material on top and keep pressing.
- Elevate the limb if possible — raise the injured arm or leg above the level of the heart to reduce blood flow to the wound.
- Lay the person down to reduce the risk of fainting and shock.

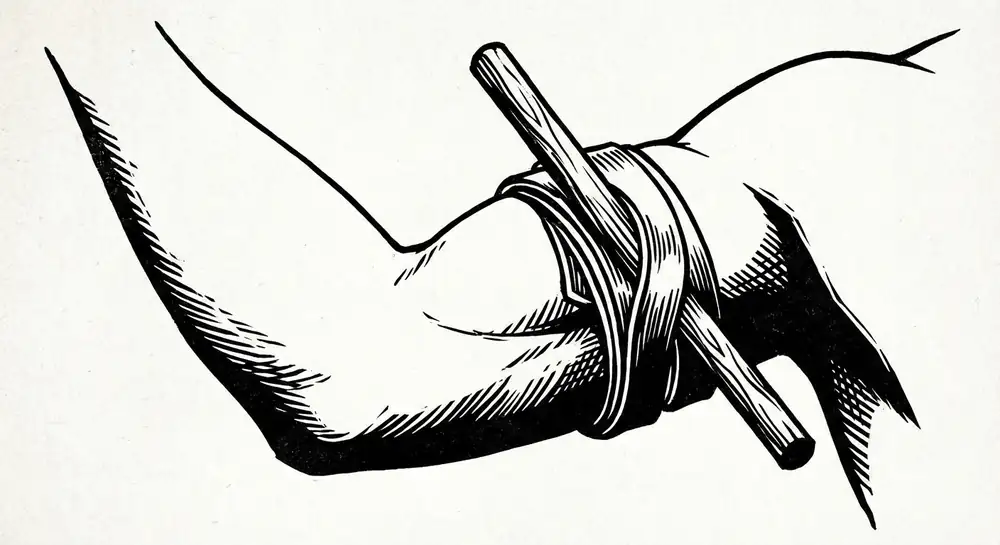
Tourniquets
If direct pressure isn't stopping the bleeding from a limb (arm or leg) — for example, a deep cut from broken glass or a power tool accident — a tourniquet can be life-saving.
How to improvise a tourniquet:
- Use a belt, a scarf, a strip of fabric, or a dog lead — anything at least 3–4 cm wide. Narrow items like string or wire will cut into skin and cause more damage.
- Tie it around the limb 5–8 cm above the wound (between the wound and the heart). Never place it over a joint.
- Tighten until the bleeding stops or significantly slows.
- Note the time you applied it. Write it on the patient's skin with a marker if you have one. A tourniquet shouldn't stay on for more than two hours without professional guidance.
Commercial tourniquets (CAT or SWAT-T) are available for £15–25 from Amazon or outdoor shops. Having one in your first aid kit is worthwhile.
CPR (cardiopulmonary resuscitation)
If someone collapses and isn't breathing — or is only gasping — they need CPR immediately. Without it, brain damage begins within 4–6 minutes.
Adult CPR (simplified)
- Check for response. Shake their shoulders and shout. No response?
- Check for breathing. Tilt their head back, lift the chin, look for chest movement for no more than 10 seconds. Not breathing, or only gasping?
- Start chest compressions.
- Place the heel of your hand on the centre of their chest (on the breastbone).
- Place your other hand on top, interlace your fingers.
- Press down hard and fast — at least 5 cm deep, at a rate of 100–120 compressions per minute (the beat of "Stayin' Alive" by the Bee Gees, fittingly).
- Let the chest fully recoil between compressions.

- If you're trained in rescue breaths, give 2 breaths after every 30 compressions. Tilt the head back, lift the chin, pinch the nose, and blow steadily into their mouth for about 1 second, watching for the chest to rise.
- If you're not trained or uncomfortable with rescue breaths, continuous chest compressions alone are still effective. Don't stop to deliberate — just keep pushing.
- Don't stop until the person starts breathing, you're physically exhausted, or help arrives. If there are two of you, swap every 2 minutes to maintain compression quality.
CPR is exhausting. Proper chest compressions are physically demanding. After 2–3 minutes, your compressions will weaken even if you don't realise it. Swap with another person if possible.
Child CPR (ages 1–puberty)
The same basic technique but:
- Use one hand for compressions instead of two.
- Compress about 5 cm (one-third of the chest depth).
- Always give rescue breaths for children — 2 breaths after every 30 compressions. Children's cardiac arrests are usually caused by breathing problems, not heart problems, so rescue breaths are more critical.
Infant CPR (under 1 year)
- Use two fingers (index and middle finger) on the centre of the chest.
- Compress about 4 cm.
- Cover the infant's mouth and nose with your mouth for rescue breaths.
- Give gentle puffs, not full breaths.
Choking
Choking is common and can be fatal within minutes if the airway is fully blocked.
For adults and children over 1 year
- Encourage them to cough. If they can cough forcefully, let them — it's the most effective way to clear the blockage.
- If they can't cough, speak, or breathe — give up to 5 back blows:
- Stand behind them, lean them forward.
- Hit firmly between the shoulder blades with the heel of your hand.
- If back blows don't work — give up to 5 abdominal thrusts (Heimlich manoeuvre):
- Stand behind them, place your fist just above their belly button.
- Grasp your fist with your other hand.
- Pull sharply inwards and upwards.
- Alternate between 5 back blows and 5 abdominal thrusts until the object clears.
For infants (under 1 year)
- Lay the infant face-down along your forearm, supporting their head.
- Give 5 back blows between the shoulder blades.
- Turn the infant face-up and give 5 chest thrusts (like CPR compressions but sharper and slower).
- Alternate until clear.
- Never use abdominal thrusts on an infant.
Burns
Burns are common in power outages — people use candles, camp stoves, and other unfamiliar heat sources.
Immediate treatment
- Cool the burn under cool (not cold) running water for at least 20 minutes. This is the single most important thing you can do. If running water isn't available, use any clean cool water — bottled water, collected rainwater.
- Remove clothing and jewellery near the burn before it swells, but don't pull off anything that's stuck to the skin.
- Cover with cling film — lay it loosely over the burn (don't wrap tightly). Cling film keeps the burn clean, reduces pain from air contact, and allows medical professionals to see the injury without removing a dressing. It's genuinely one of the best burn dressings available in any kitchen.
- Don't apply butter, toothpaste, ice, or any cream. These are myths and can make burns worse.
- Don't burst blisters. They're a natural protective barrier.
When to worry
Seek professional medical help as soon as possible for:
- Burns larger than the patient's hand
- Burns on the face, hands, feet, or genitals
- Burns that go all the way around a limb
- Burns that look white, waxy, or charred (deep burns)
- Burns in children under 5 or adults over 60
- Any burn you're unsure about
Fractures and sprains
In an emergency without X-ray facilities, you can't tell the difference between a fracture and a bad sprain. Treat them the same way: immobilise and support.
Basic splinting
- Don't try to straighten a visibly deformed limb. Splint it in the position you find it.
- Use rigid support — a rolled-up newspaper or magazine, a piece of wood, a walking stick, a ruler — anything stiff.
- Pad the splint with towels or clothing for comfort.
- Secure with bandages, scarves, or strips of fabric. Tie firmly but not so tight that you cut off circulation. Check the fingers or toes beyond the splint — they should stay warm and pink.
- Apply ice (wrapped in a cloth, not directly on skin) to reduce swelling if available. Frozen peas work perfectly.
Slings
For arm or collarbone injuries, a sling takes the weight off the injury and reduces pain:
- Use a triangular bandage, a large scarf, or even a pillowcase.
- Support the forearm across the chest with the hand slightly higher than the elbow.
- Tie behind the neck.
Shock
Shock (the medical kind, not emotional shock) happens when the body isn't getting enough blood flow. It can follow severe bleeding, burns, allergic reactions, or serious infections. It's life-threatening.
Signs of shock
- Pale, cold, clammy skin
- Rapid, weak pulse
- Rapid, shallow breathing
- Dizziness or confusion
- Nausea
- Thirst
What to do
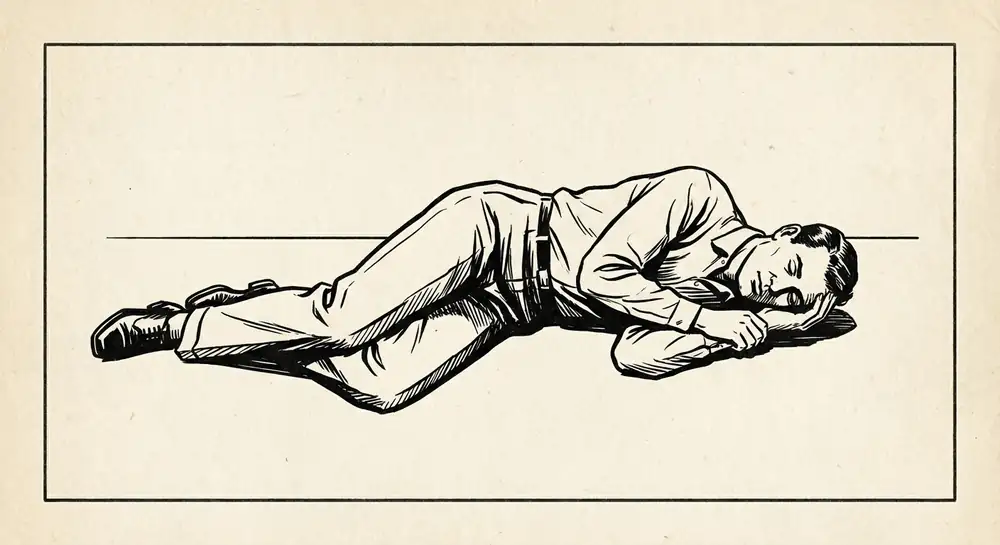
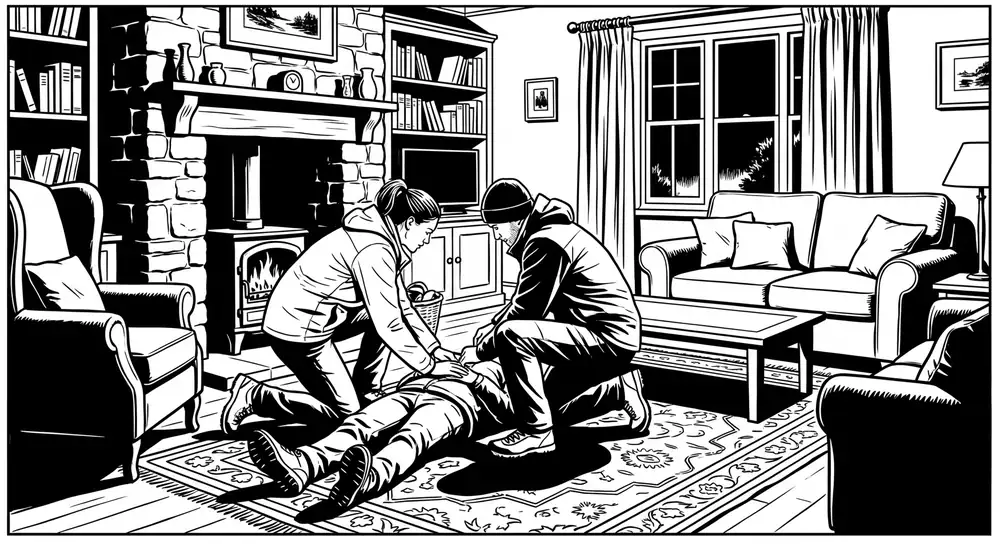
- Lay the person down and raise their legs above heart level (unless they have a leg injury or you suspect a spinal injury).
- Keep them warm — cover with blankets, coats, or sleeping bags. The ground draws heat rapidly, so put insulation underneath as well as on top.
- Don't give them anything to eat or drink (they may need surgery if help arrives).
- Reassure them and keep them calm. Anxiety worsens shock.
- Monitor their breathing and be prepared to start CPR if they stop breathing.
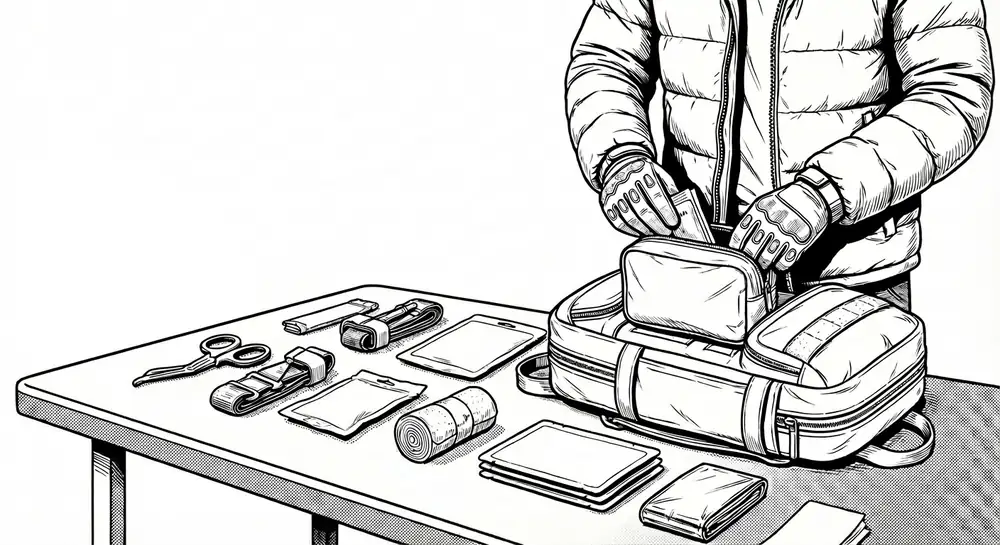
Your first aid kit
Every household should have a basic first aid kit. You can buy pre-made ones from Boots, Superdrug, or Amazon for £10–20, but they're often full of plasters and not much else. Build your own or supplement a bought one:
| Item | Quantity | Notes |
|---|---|---|
| Sterile gauze pads (10x10 cm) | 10+ | For wound dressing and pressure |
| Conforming bandage rolls | 4–6 | For securing dressings and splints |
| Triangular bandages | 2 | Slings, splints, or improvised tourniquets |
| Adhesive tape (medical grade) | 2 rolls | Micropore or similar |
| Large wound dressings | 2–3 | Trauma-style pads for serious bleeding |
| Cling film | 1 roll | Burns treatment |
| Disposable gloves (nitrile) | 10 pairs | Infection control |
| Scissors (tough, blunt-ended) | 1 pair | Cutting clothing, bandages |
| Tweezers | 1 pair | Splinters, debris |
| Paracetamol and ibuprofen | 2 boxes each | Pain relief (check allergies) |
| Antihistamine tablets | 1 box | Allergic reactions |
| Antiseptic wipes | 20+ | Wound cleaning |
| Saline solution (sterile) | 2–3 pods | Eye washing, wound irrigation |
| Thermal blanket (foil) | 2 | Treating shock, keeping warm |
| Pen and paper | — | Note symptoms, times, tourniquet times |
Total cost: roughly £25–35 if bought separately from a pharmacy.
Get trained
Reading an article is a start, but it's no substitute for hands-on training. The following organisations run first aid courses across the UK:
- St John Ambulance — free community courses and paid workplace courses. Their free online resources at sja.org.uk are excellent.
- British Red Cross — first aid courses and an excellent free app with step-by-step guides.
- Local community groups — many parish councils, community centres, and Scout/Guide groups run basic first aid sessions.
A one-day first aid course costs £80–150 and covers everything in this article with practical hands-on practice. It's one of the most valuable days you can spend.
The bottom line
You don't need medical training to save a life. You need to know three things well: how to stop severe bleeding, how to do CPR, and how to help someone who's choking. Everything else is important but secondary. Learn those three skills, build a proper first aid kit, and you'll be prepared to handle the vast majority of medical emergencies — with or without a working phone.